The following instructions describe how to set up a web site for Horizon Reports in IIS (Internet Information Services).
IIS
If IIS is not already installed, you must install it before continuing.
Creating an application pool
IIS uses application pools to isolate an application from other applications running on the same web server. In previous releases, Horizon Reports could run under an existing/shared application pool. However, this is no longer supported, so creating a new application pool is necessary.
Open IIS Manager. In the Connections panel on the left, expand the entry for your server and choose Application Pools.
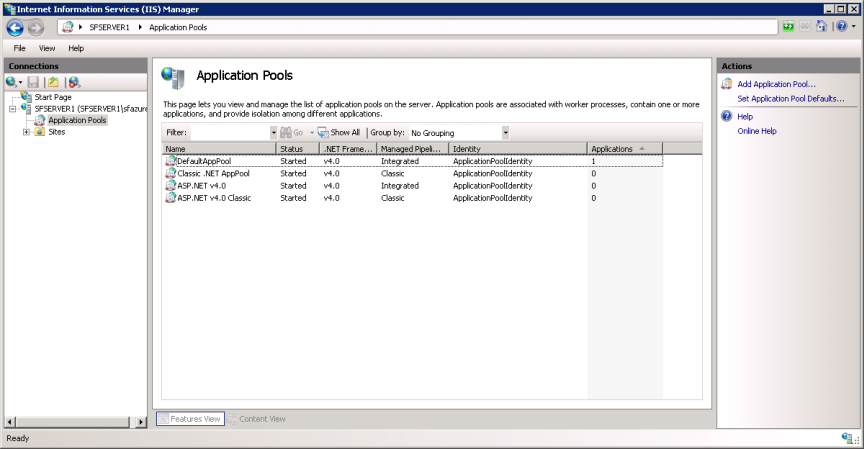
In the Actions panel on the right, click Add Application Pool….
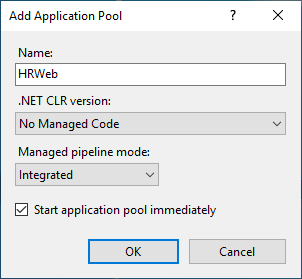
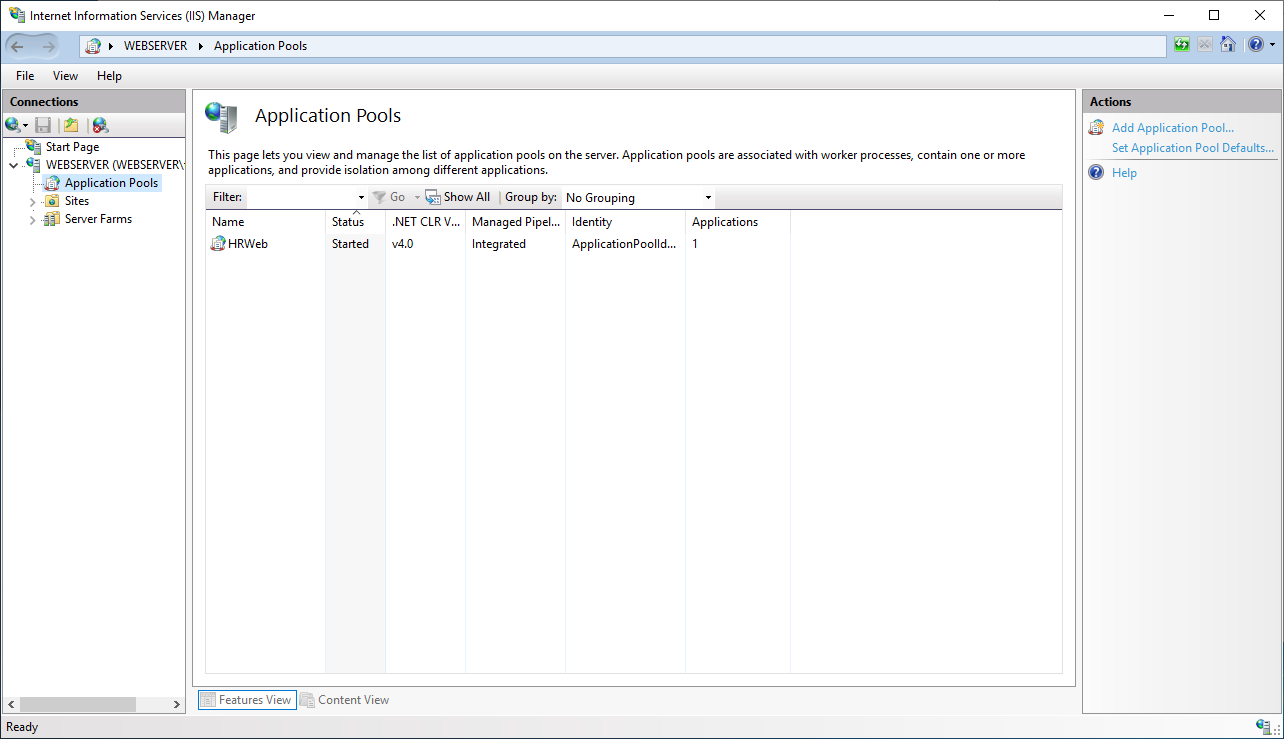
Give the application pool a name you can easily associate with your reporting application. For .NET CLR version, choose No Managed Code. Managed pipeline mode must be set to Integrated. When you’re finished, click OK and you’ll see the application pool listed along with the other applications pools.
There are a number of advanced settings that can be modified for an application pool to change how it behaves. If you plan to use the Scheduler, one change to the default settings is required. To access advanced settings, select the application pool in the list and in the Actions pane, click Advanced Settings….
Deploying project files
Publish your project as discussed in the Publishing help topic. You can choose to publish to an FTP location or to a folder on the machine. If you aren’t publishing on the web server, transfer the contents of the “published to” folder to the web server. A common practice is to create a subdirectory in C:\inetpub for each web application.
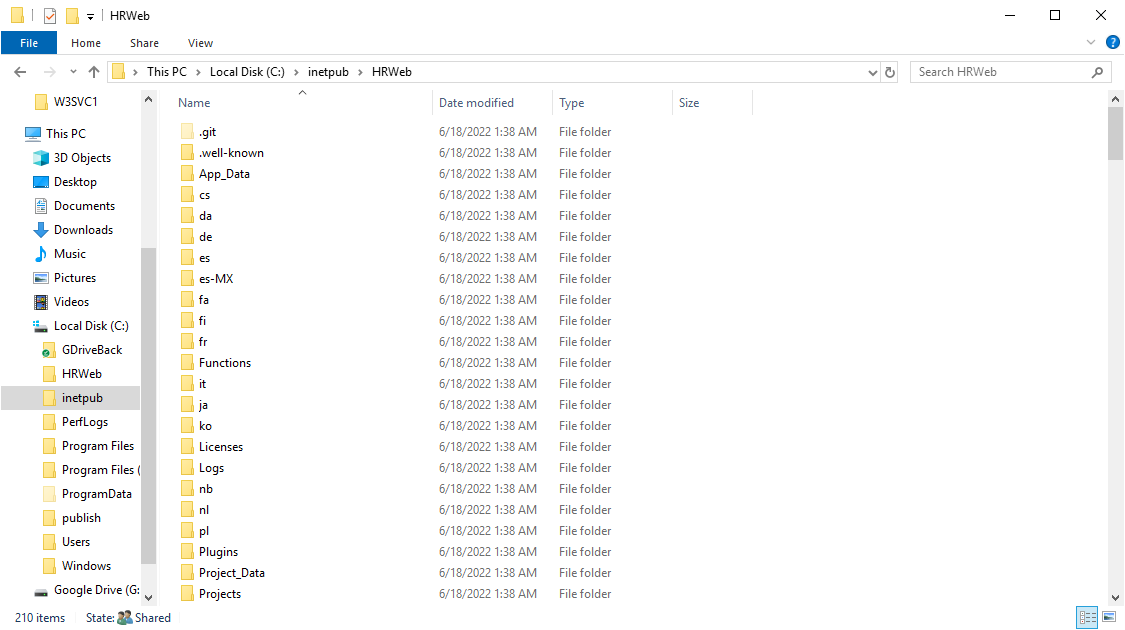
The application pool identity requires read and execute permissions to the top-level application folder (shown as HRWeb in this example) and full read and write permissions to the App_Data, Licenses, and Logs folders. If you’re using the new preferred publishing method, the App_Data, Licenses, and Logs folders may not already exist. In that case, create them, then set the necessary permissions.
-
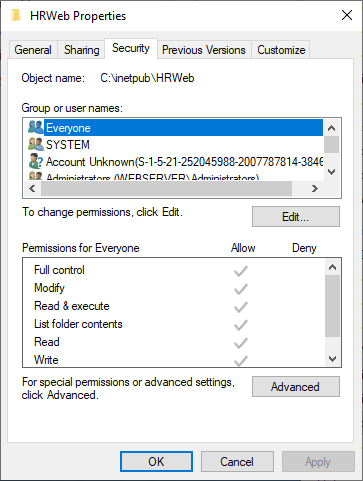
In a File Explorer window, navigate to the folder containing your top-level application folder, right-click it, and choose Properties.
-
On the Security tab, click the Edit button, and then the Add button.
-
In the text box, enter the account for the user identity you chose for the application pool in the previous section. If you kept the default ApplicationPoolIdentity setting, enter the name of your application pool with “IIS AppPool” as the prefix. For example, if you called the app pool “HRWeb”, enter “IIS AppPool\HRWeb” (without the quotes).
The identity associated with the application pool is located on the web server itself. If your web server is part of a domain, you may need to change the From this location setting from the domain to the name of the server.
-
Click Check Names, then OK.
-
Double check that with the DefaultAppPool user (for example, “HRWeb”) selected in the top list, the Read & execute, List folder contents, and Read items are checked under the Allow column. Click OK and then OK again to save the changes.
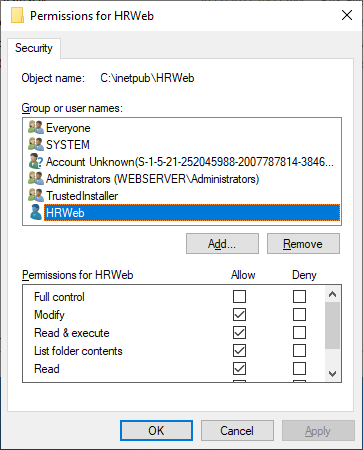
Repeat this process for the App_Data, Licenses, and Logs folders. You don’t need to add the user identity after you click the Edit button because the identity you added to the parent folder is inherited for these subfolders. Also, remember that the application pool needs full read and write access to these folders, so click the “Full Control” checkbox under the Allow column after choosing the proper user name in the list.
Creating the web application
You can host Horizon Reports as a standalone application or as a child application inside an existing site. Which option you choose here depends on several factors:
-
If your web server will only host Horizon Reports and no other applications, create a standalone application.
-
If your web server hosts one or more existing web sites, but you have a wildcard-type SSL certificate and would like to use a subdomain such as reports.mydomain.com, create a standalone application.
-
If your web server hosts one or more existing web sites and you don’t have a wildcard certificate, add Horizon Reports as a child application to an existing site.
Creating a standalone application
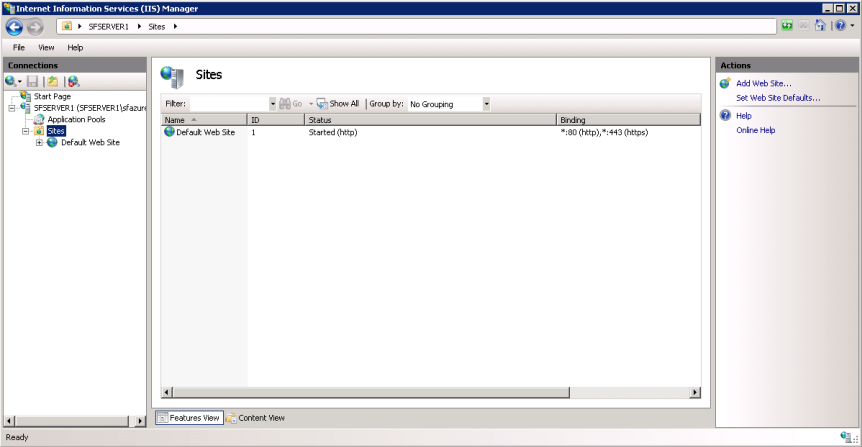
In IIS Manager, expand the server node in the Connections panel and click the Sites node. In the Actions panel at the right, click Add Web Site….

Give the site a name and choose the application pool you created previously for this purpose. For the physical path, choose the top level application folder you copied to the server previously.
Horizon Reports supports SSL, so if you’d like to use SSL, choose https for the binding. You can pick a specific IP address / Network interface, or if you want this web site to listen on all IP Addresses, choose All Unassigned. The port setting will depend on if you choose https for the binding.
Next, choose your SSL Certificate. If you have a wildcard-type certificate, you’ll be able to type in a subdomain for Host name, such as reports.mydomain.com. Otherwise, your domain is fixed to the one associated with the certificate.
If you don’t want to use SSL, create an http binding.
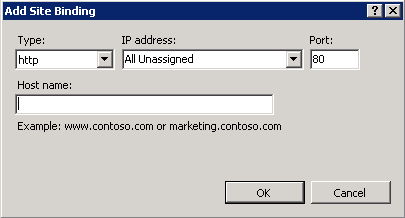
Choose http for Type. Set the IP Address setting to the same thing you chose when creating the site and leave the port as 80. For host name, if you used a subdomain when creating the site, enter the same subdomain here.
Creating a child application
When you add Horizon Reports to IIS as a child application, it is addressed with the URL of the parent site plus the name of a virtual directory you create for it.
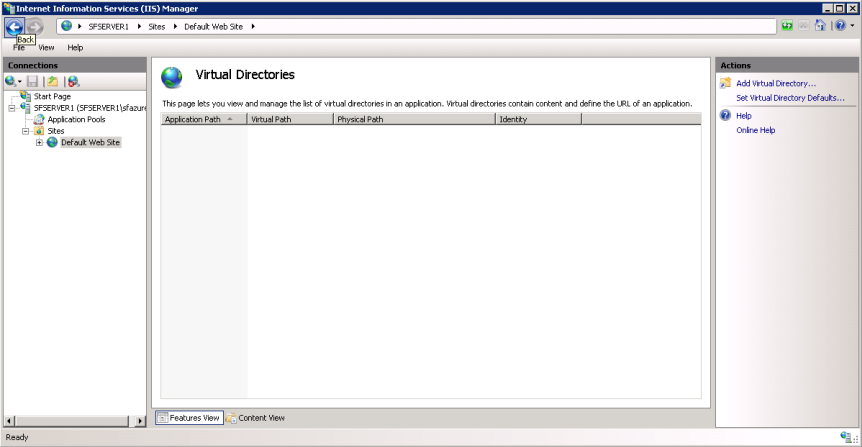
The top-level application folder can be located in any physical location on the web server, but you’ll need to add a virtual directory that acts as a mapping between that location and the URL used to refer to this child application. To add a virtual directory, select the parent site in the Connections panel, click View Virtual Directories in the Actions panel, then click Add Virtual Directory….
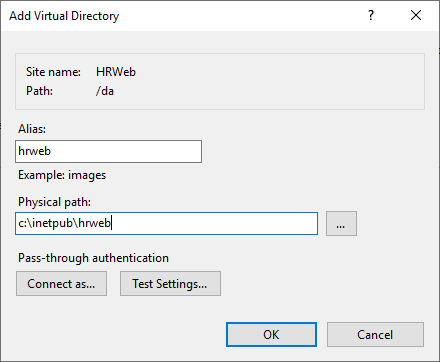
The alias you choose determines the “folder” the site appears under in the URL. For example, if you choose an alias of “reporting” and the domain of your top level site is www.mydomain.com, users will navigate to the report writer via “www.mydomain.com/reporting”. After choosing an alias, set the physical path to the top-level application folder you copied to the web server earlier.
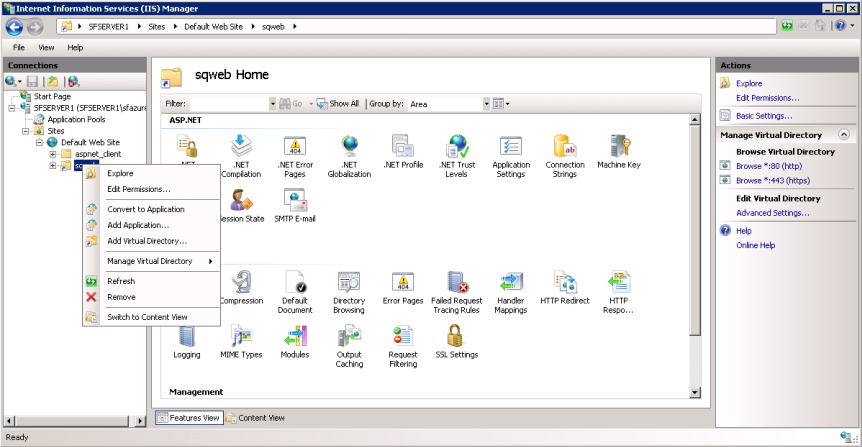
IIS needs to know that virtual directory you just created contains an application and not just a static web site. To do that, expand the node for your parent site in the Connections panel, right-click the entry for the virtual directory you created, and choose Convert to Application from the shortcut menu. In the dialog that appears, change Application pool to the application pool you created earlier. After clicking OK to save these changes, you may need to restart the IIS web server before you can navigate to the site. To do that, select the server in the Connections panel and click the Restart link in the Action panel.
Testing the web application
To test that you have the web site set up correctly, click the Browse *:443 (https) or Browse *:80 (http) link in the Actions panel.